示例手册:使用 JWT 的认证流程
🌐 Examples cookbook: Authentication flow with JWT
此页面的内容可能尚未与 Strapi 5 完全同步。
🌐 The content of this page might not be fully up-to-date with Strapi 5 yet.
此页面是后端自定义示例手册的一部分。请确保你已阅读其介绍。
🌐 This page is part of the back end customization examples cookbook. Please ensure you've read its introduction.
💭 上下文:
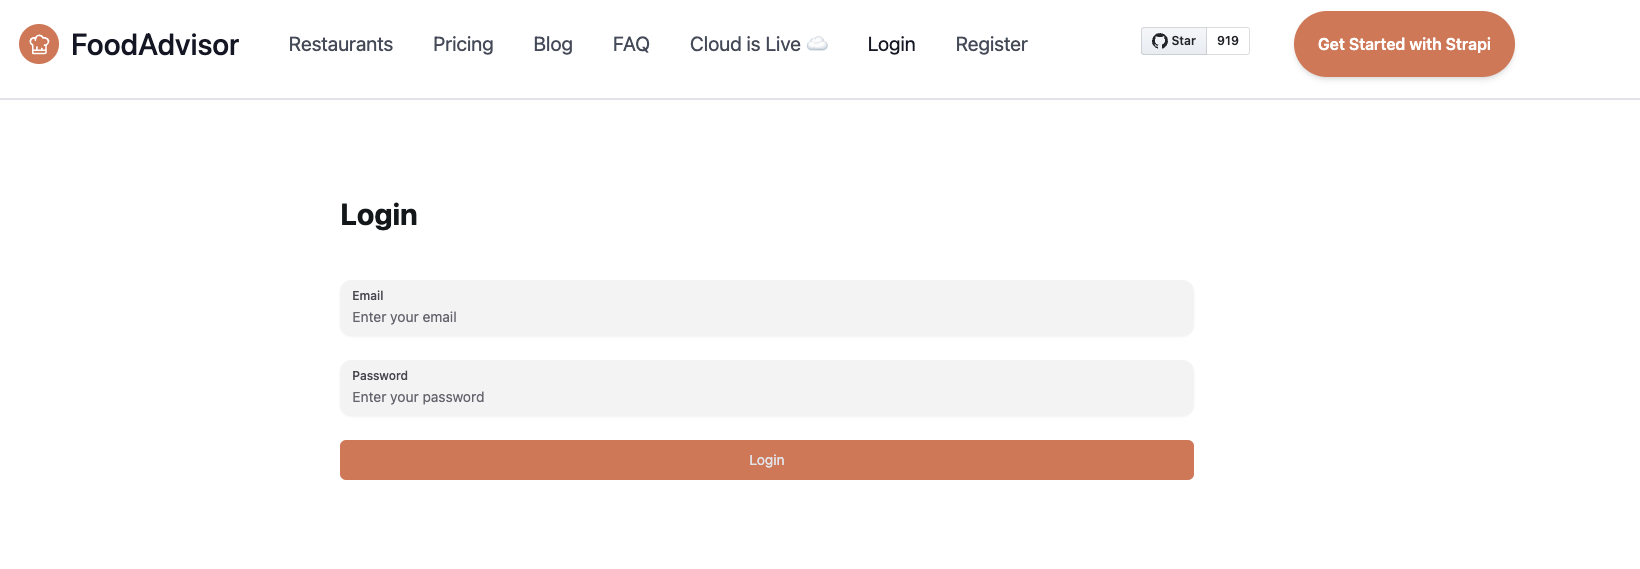
开箱即用, FoodAdvisor 的前端网站没有提供任何登录功能。登录是通过访问 Strapi 的管理面板完成的,地址为 `localhost:1337/admin`。
让我们在前端添加一个基本的登录页面,该前端是由 Next.js驱动的网站,包含在 FoodAdvisor 的 /client 文件夹中。登录页面可以通过 `localhost:3000/auth/login` 访问,并包含一个典型的邮箱/密码登录表单。这将允许以编程方式验证发送到 Strapi 的 API 请求。
🎯 目标:
创建前端组件以:
🌐 Create a front-end component to:
- 显示登录表单,
- 向 Strapi 后端服务器的
/auth/local路由发送请求以进行身份验证, - 获取一个 JSON Web Token (JWT),
- 并将 JWT 存储到浏览器的 `localStorage` 属性中,以便以后检索和认证我们的请求。
有关 JWT 认证的更多信息可以在 用户与权限插件 文档中找到。
🌐 Additional information about JWT authentication can be found in the Users & Permissions plugin documentation.
🧑💻 代码示例:
为了实现这一点,在 FoodAdvisor 项目的/client文件夹中,你可以创建一个包含以下示例代码的pages/auth/login.js文件。高亮的行显示了发送到 Strapi ��的用户与权限插件提供的/auth/local路由的请求:
此文件使用了 formik 包 - 使用 yarn add formik 安装它并重启开发服务器。
🌐 This file uses the formik package - install it using yarn add formik and restart the dev server.
import React from 'react';
import { useFormik } from 'formik';
import { Button, Input } from '@nextui-org/react';
import Layout from '@/components/layout';
import { getStrapiURL } from '@/utils';

const Login = () => {
  const { handleSubmit, handleChange } = useFormik({
    initialValues: {
      identifier: '',
      password: '',
    },
    onSubmit: async (values) => {
      /**
       * API URLs in Strapi are by default prefixed with /api,
       * but because the API prefix can be configured
       * with the rest.prefix property in the config/api.js file,
       * we use the getStrapiURL() method to build the proper full auth URL.
       **/
      const res = await fetch(getStrapiURL('/auth/local'), {
        method: 'POST',
        headers: {
          'Content-Type': 'application/json',
        },
        body: JSON.stringify(values),
      });
      /**
       * Gets the JWT from the server response
       */
      const { jwt } = await res.json();
      /**
       * Stores the JWT in the localStorage of the browser.
       * A better implementation would be to do this with an authentication context provider
       * or something more sophisticated, but it's not the purpose of this tutorial.
       */
      localStorage.setItem('token', jwt);
    },
  });
  /**
   * The following code renders a basic login form
   * accessible from the localhost:3000/auth/login page.
   */
  return (
    <Layout>
      <div className="h-full w-full flex justify-center items-center my-24">
        <form onSubmit={handleSubmit} className="flex flex-col gap-y-6 w-4/12 ">
          <h1 className="font-bold text-3xl mb-6">Login</h1>
          <Input
            onChange={handleChange}
            type="email"
            name="identifier"
            label="Email"
            placeholder="Enter your email"
          />
          <Input
            type="password"
            name="password"
            label="Password"
            placeholder="Enter your password"
            onChange={handleChange}
          />
          <Button type="submit" className="bg-primary rounded-md text-muted">
            Login
          </Button>
        </form>
      </div>
    </Layout>
  );
};

export default Login;
增强认证与会话管理
🌐 Enhanced Authentication with Session Management
上面的示例使用了传统的 JWT 方法。为了增强安全性,你可以在“用户与权限”配置中启用会话管理模式,该模式提供生命周期更短的访问令牌和刷新令牌功能。
🌐 The above example uses the traditional JWT approach. For enhanced security, you can enable session management mode in your Users & Permissions configuration, which provides shorter-lived access tokens and refresh token functionality.
配置
🌐 Configuration
首先,在你的 /config/plugins.js 中启用会话管理:
🌐 First, enable session management in your /config/plugins.js:
module.exports = ({ env }) => ({
  'users-permissions': {
    config: {
      jwtManagement: 'refresh',
      sessions: {
        accessTokenLifespan: 604800, // 1 week (default)
        maxRefreshTokenLifespan: 2592000, // 30 days
        idleRefreshTokenLifespan: 604800, // 7 days
      },
    },
  },
});
增强登录组件
🌐 Enhanced Login Component
这是一个更新的登录组件,可以同时处理 JWT 和刷新令牌:
🌐 Here's an updated login component that handles both JWT and refresh tokens:
import React, { useState } from 'react';
import { useFormik } from 'formik';
import { Button, Input } from '@nextui-org/react';
import Layout from '@/components/layout';
import { getStrapiURL } from '@/utils';

const EnhancedLogin = () => {
  const [isLoading, setIsLoading] = useState(false);

  const { handleSubmit, handleChange } = useFormik({
    initialValues: {
      identifier: '',
      password: '',
    },
    onSubmit: async (values) => {
      setIsLoading(true);
      try {
        const res = await fetch(getStrapiURL('/auth/local'), {
          method: 'POST',
          headers: {
            'Content-Type': 'application/json',
          },
          body: JSON.stringify(values),
        });

        const data = await res.json();

        if (res.ok) {
          // Store both tokens (session management mode)
          if (data.refreshToken) {
            localStorage.setItem('accessToken', data.jwt);
            localStorage.setItem('refreshToken', data.refreshToken);
          } else {
            // Legacy mode - single JWT
            localStorage.setItem('token', data.jwt);
          }

          // Redirect to protected area
          window.location.href = '/dashboard';
        } else {
          console.error('Login failed:', data.error);
        }
      } catch (error) {
        console.error('Login error:', error);
      } finally {
        setIsLoading(false);
      }
    },
  });

  return (
    <Layout>
      <div className="h-full w-full flex justify-center items-center my-24">
        <form onSubmit={handleSubmit} className="flex flex-col gap-y-6 w-4/12">
          <h1 className="font-bold text-3xl mb-6">Enhanced Login</h1>
          <Input
            onChange={handleChange}
            type="email"
            name="identifier"
            label="Email"
            placeholder="Enter your email"
          />
          <Input
            type="password"
            name="password"
            label="Password"
            placeholder="Enter your password"
            onChange={handleChange}
          />
          <Button
            type="submit"
            className="bg-primary rounded-md text-muted"
            disabled={isLoading}
          >
            {isLoading ? 'Logging in...' : 'Login'}
          </Button>
        </form>
      </div>
    </Layout>
  );
};

export default EnhancedLogin;
<br />

:::strapi[What's next?]
Learn more about how custom [services and controllers](/cms/backend-customization/examples/services-and-controllers) can help you tweak a Strapi-based application.
:::